Organization
60 Year Old Avacado Green Kitchen
Three years ago my husband and I decided that it was finally time to remodel our sixty year old kitchen. Yes, it was built in the 1950s. Everything in the kitchen was considered up to date and modern(for the 50s that is). When we first bought the house, I thought it was really cool to have a kitchen with design from that era made up o the greatest generation. The floor was covered in 10 inch rubber tile in an alternating pattern of aqua and yellow. The counter top was white formica dotted with sparkly speckles. In areas where much of the food preparation was done, the entire design was worn off. And of course all of the appliances as well as the kitchen sink were avacado green. None the less, I thought, “I can make this work.” Well, 13 years later, I could take it no more and at last decided it was time for a complete remodel. My husband allowed me to design the kitchen of my dreams. I guess that was my reward for enduring 13 years of little cabinet space, almost no counter space, cooking in dim lighting, and cabinet doors and draw fronts falling off of their hinges.
60 Years Later
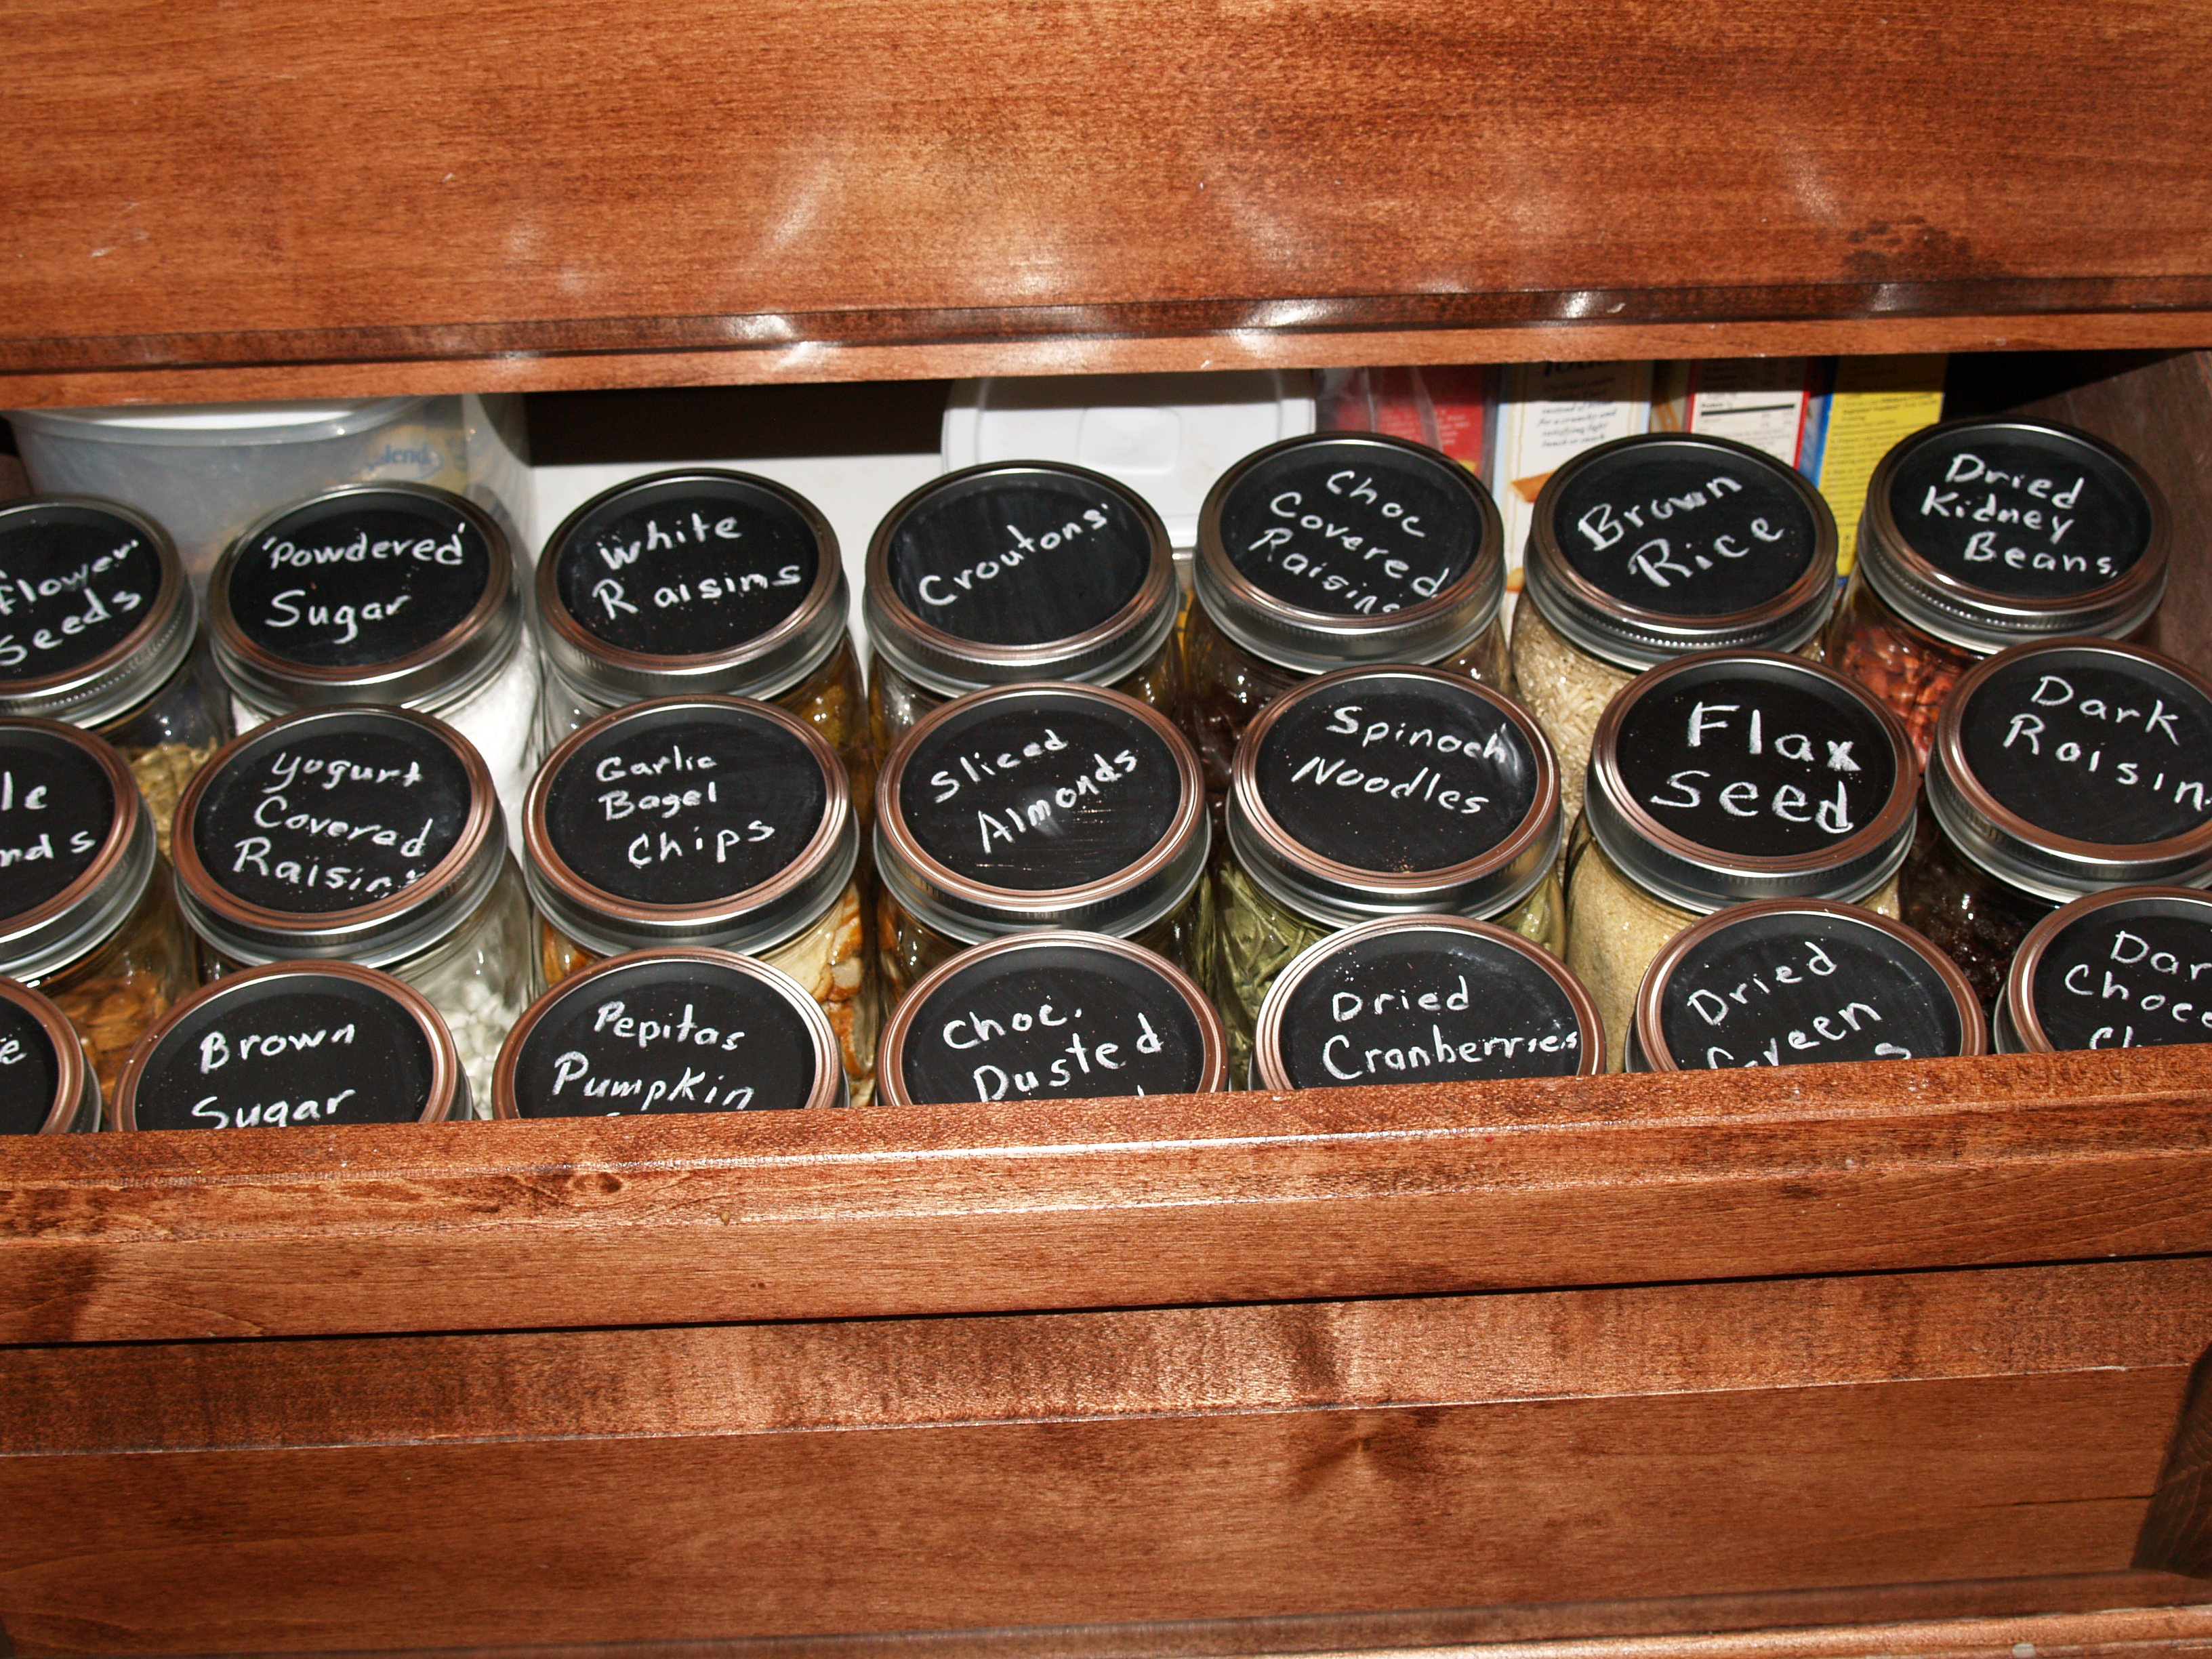
One of my pride and joy in my kitchen is my island which is a dining area and work station. When I designed the work station, I wanted to be able to house all of the small appliances that I would use as well as the most of the ingredients with which I would be baking. I chose to put in big and deep draws to serve my purpose. They really worked out great, except for that my ingredient were not always neatly stored and the powdery ingredients made a mess in the drawer. After painting cookie sheets with blackboard paint so that they could be used as chalkboards and magnet boards, I had an idea for organizing my ingredients draw.
My Ingredient Draw Remedy
The first thing I needed were glass jars. I thought about using empty jars from items we had purchased and eaten, but the OCD side of me wanted them all the same size and height so I purchased canning jars from a local store. The idea is that I would fill the jars with the ingredients and label them. Where does the chalkboard paint come in. Well, because I wanted to be able to know what was in each jar with out lifted them out of the draw. I decided that the best place to label them would be on the lid.
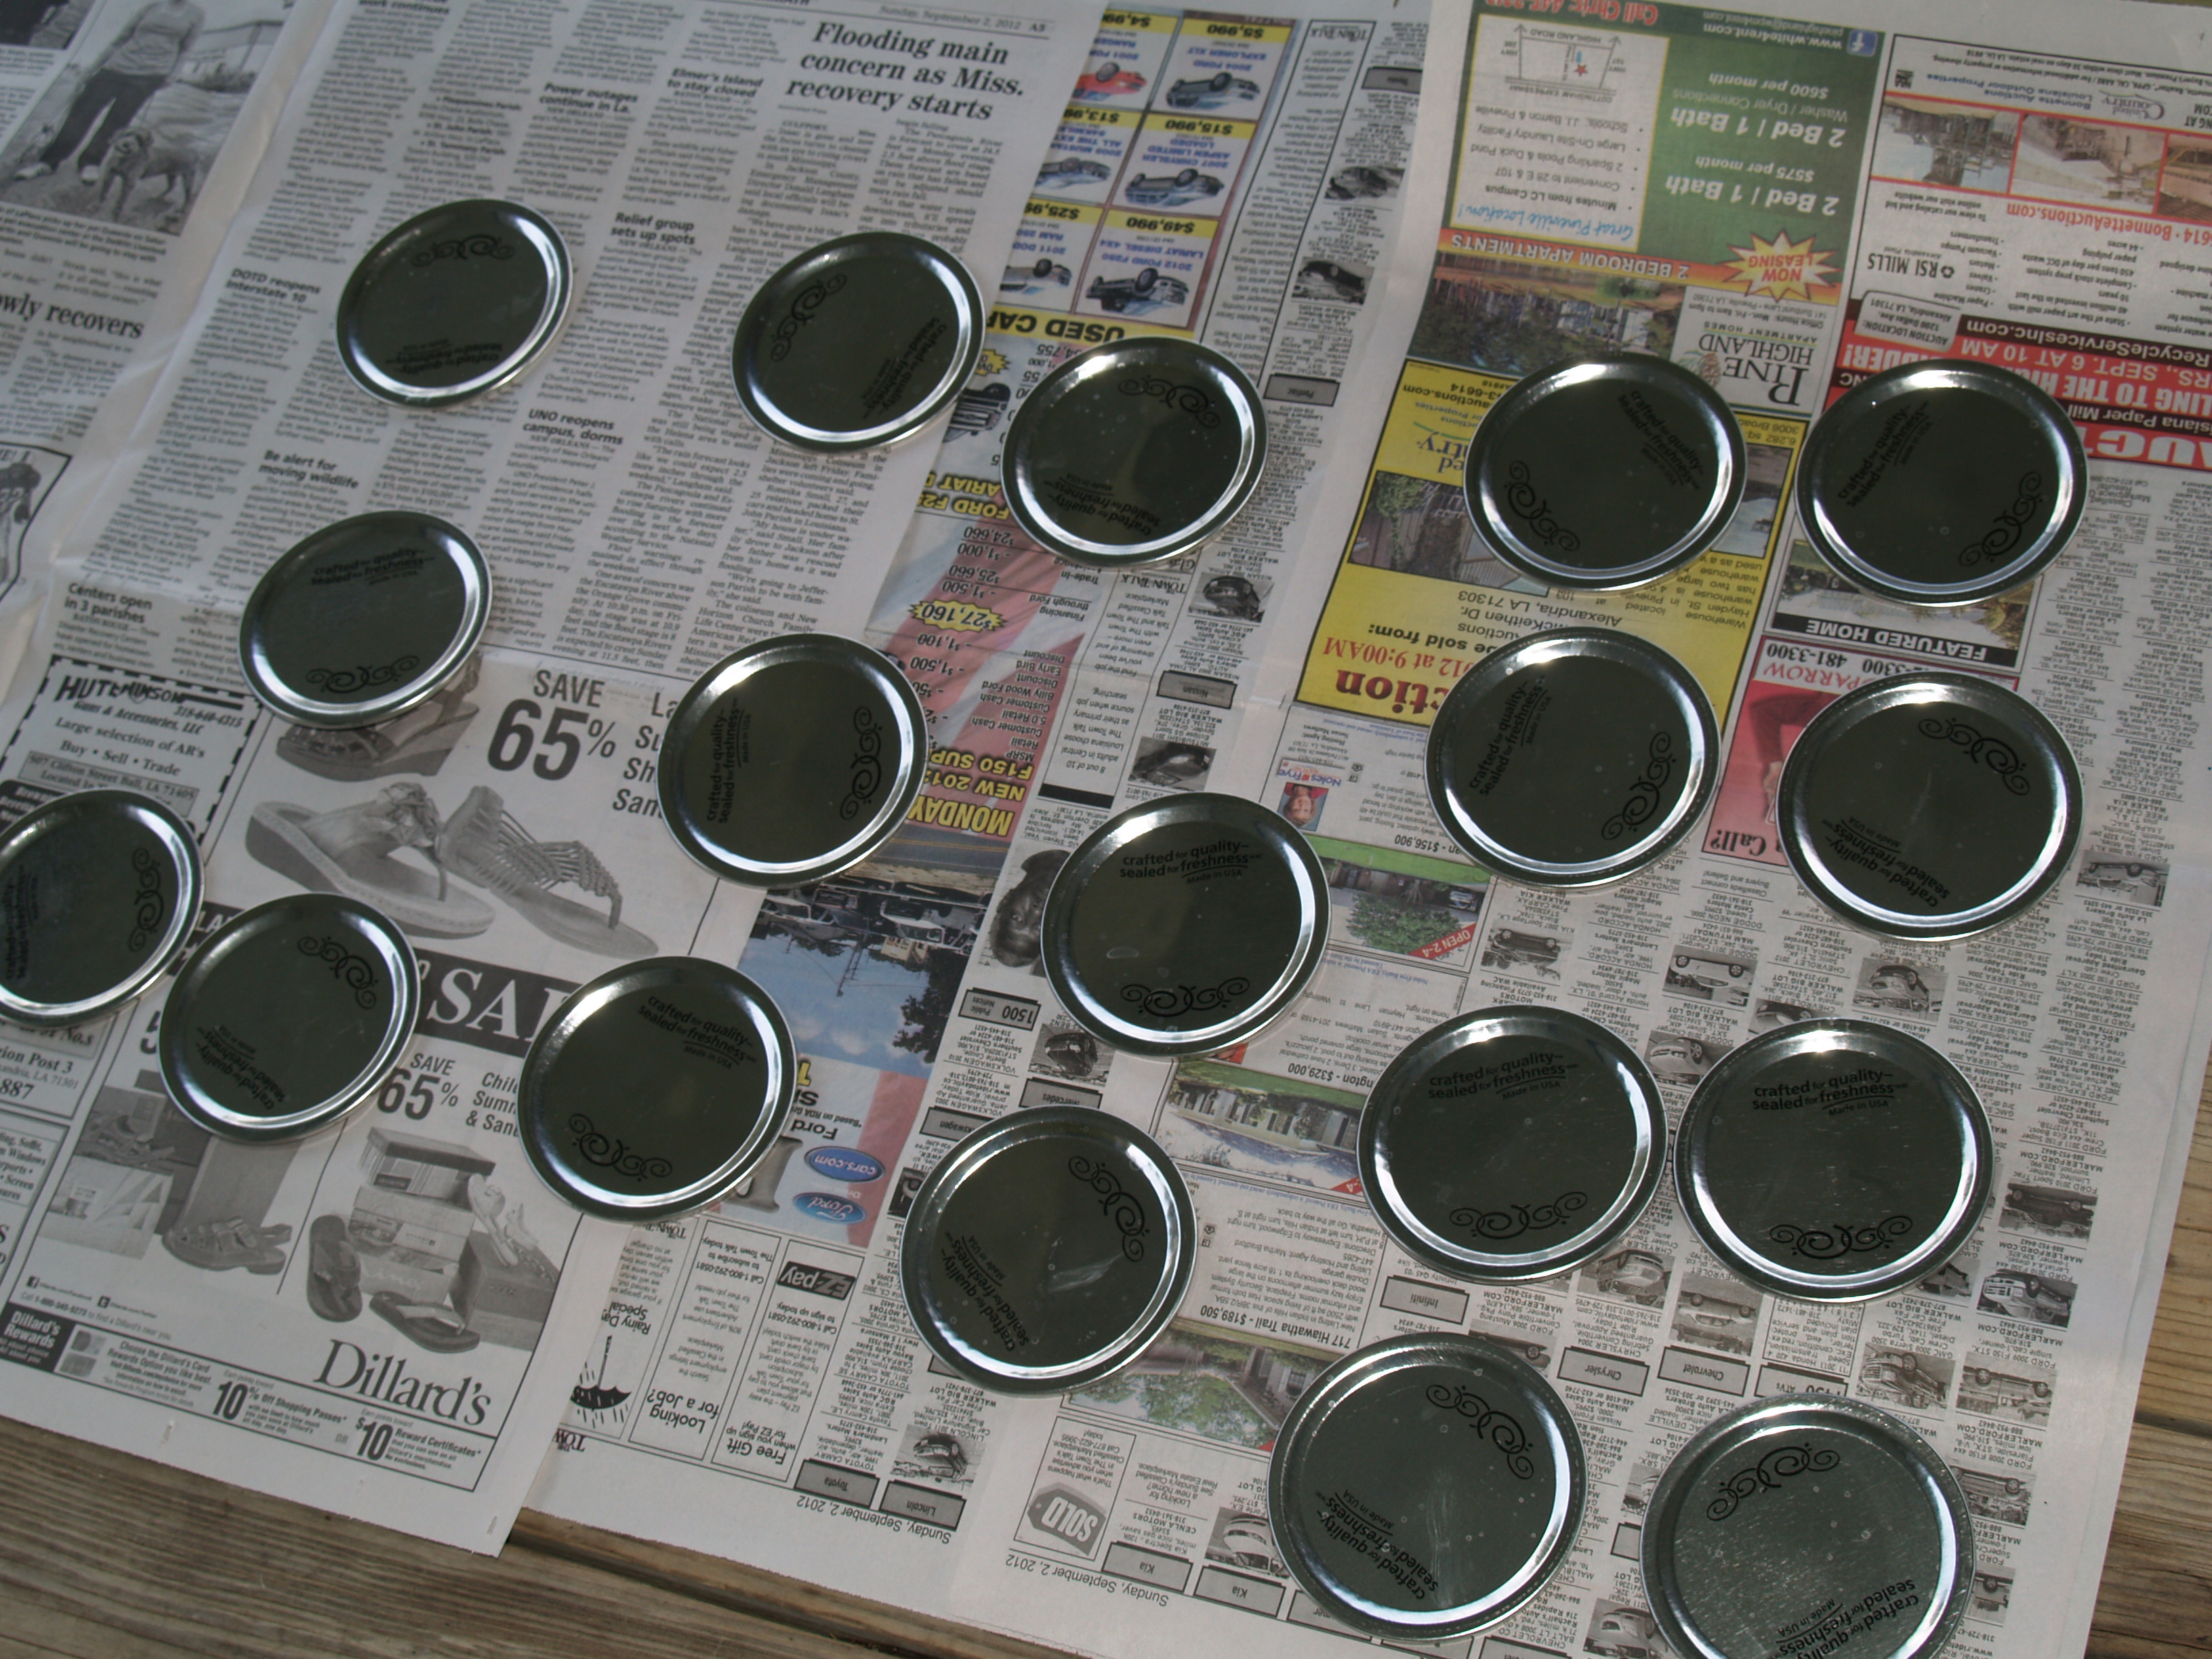

I am only painting the lids with chalk board paint. You can paint the rings with a differen color if you would like. I chose to leave the lids gold. I first washed the lids with soap and water.
The next thing I had to do was rub lightly over each lid with a fine sand paper so that the paint will adhere to the lids.
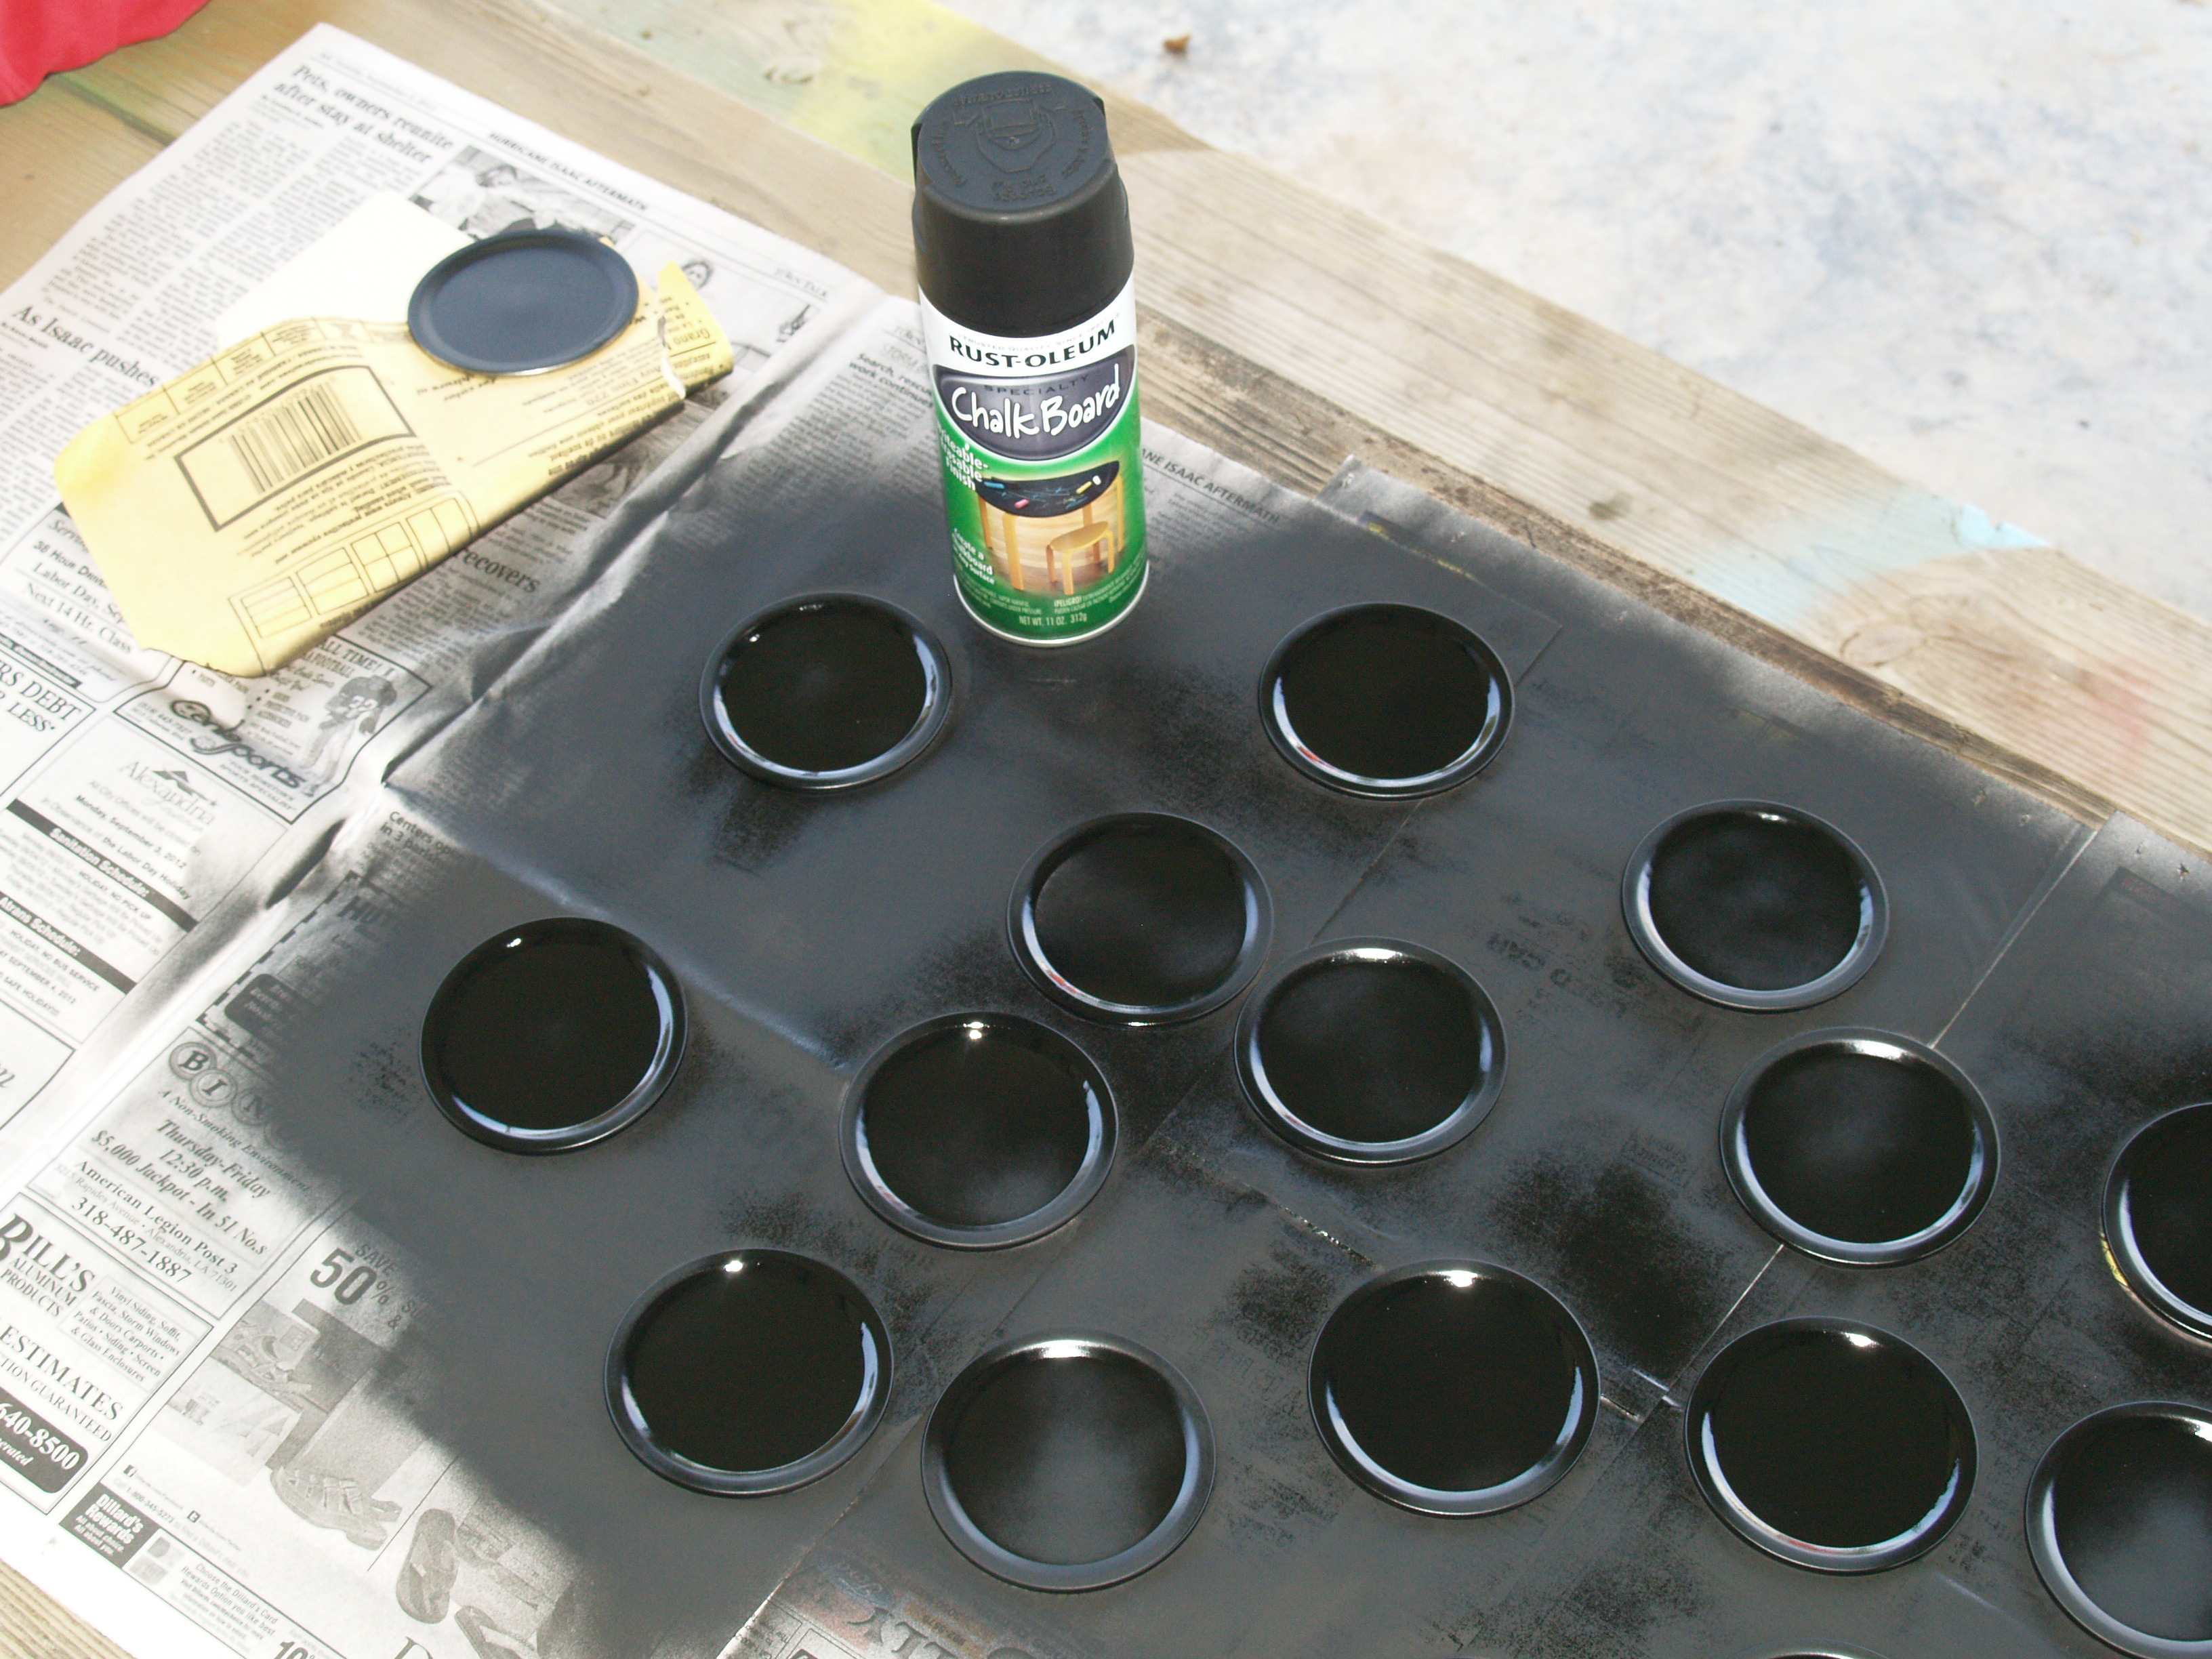
Next, I sprayed the lids’ top sides only with black chalkboard spray paint. I allowed them to dry for approximately 30 minutes and then sprayed the lids with another coat. The lids will have to dry and set for 24 hours before continuing with this project.
24 Hours Have Gone By and it’s Time to Finish this Project
Before filling the jars with their content and labeling the lids, I covered each painted side of the lids with chalk by holding a piece of chalk on it side and rubbing over each lid top. I then erased the chalk with a dry clothe and then completely cleaned the lid with a wet clothe. Let the lids dry.
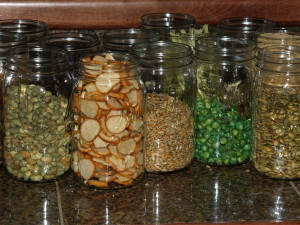
Next, I filled the jars with content, placed lids and rings on the jars, and then used regular blackboard chalk to write the name of the contents on each lid.

Now, I can find everything easily. Maybe a little too easily. This is where I store the chocolate covered raisins and almonds, too.